The Dream Crochet Mittens Pattern Guide.
Hello there! This is 12 year old make, that I wanted to revisit after finding one of my mittens. I cannot believe it’s been a whole decade since I created them, so since I’ve been on the path of refreshing, & reimagining. These handmade Crochet Winter Accessories were the first on that list! Hope you truly enjoy this blast from the past, fun and Free crochet pattern to make!
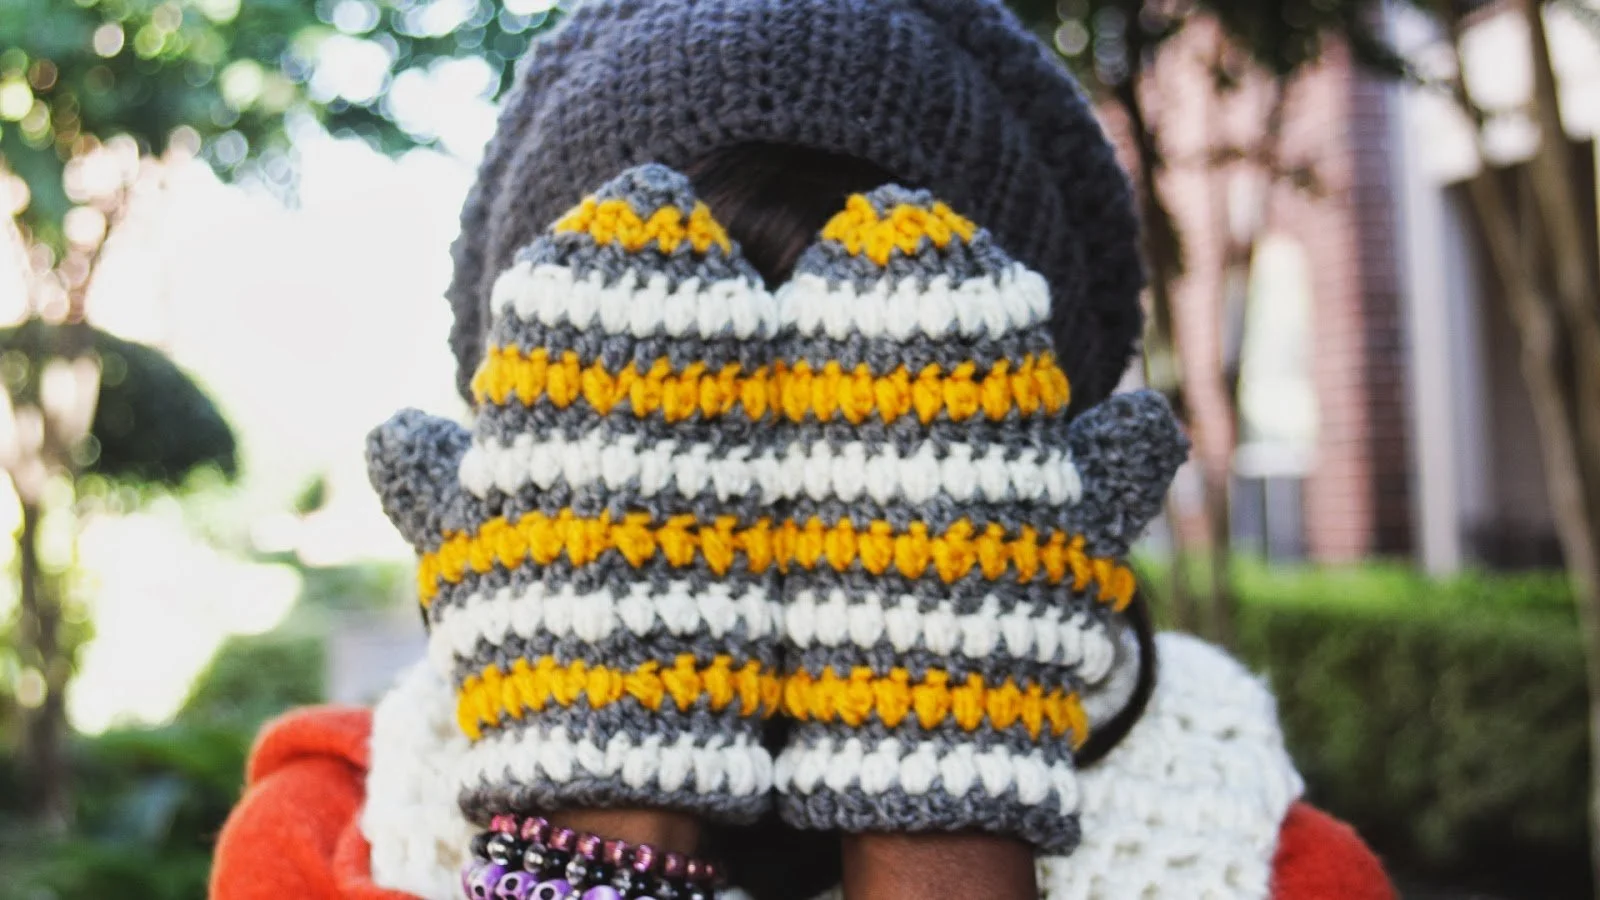
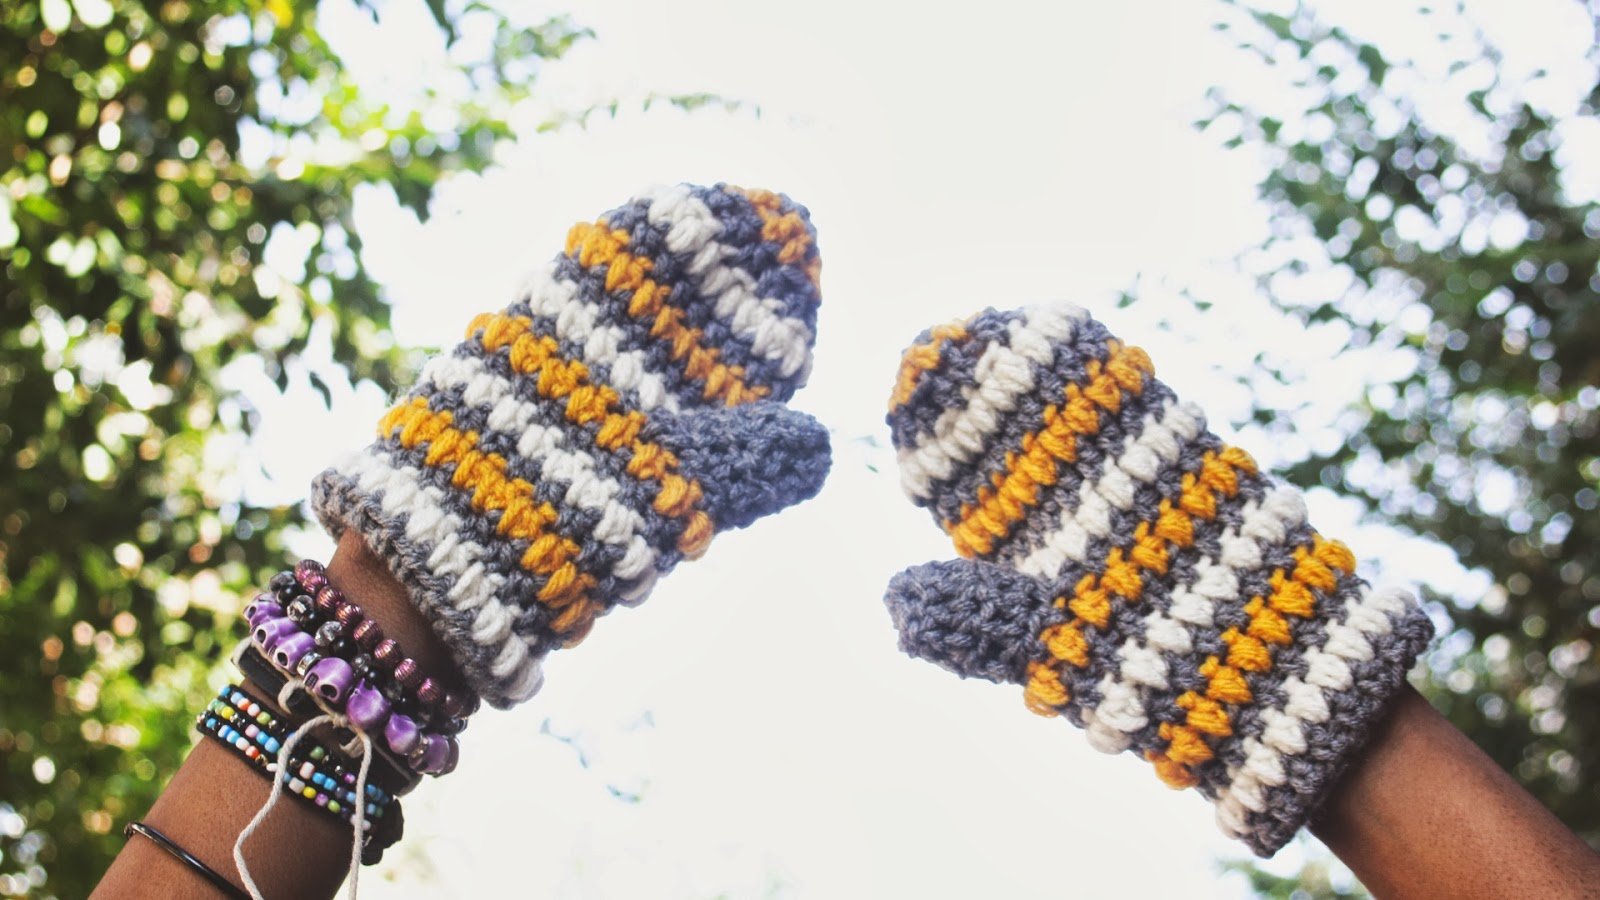
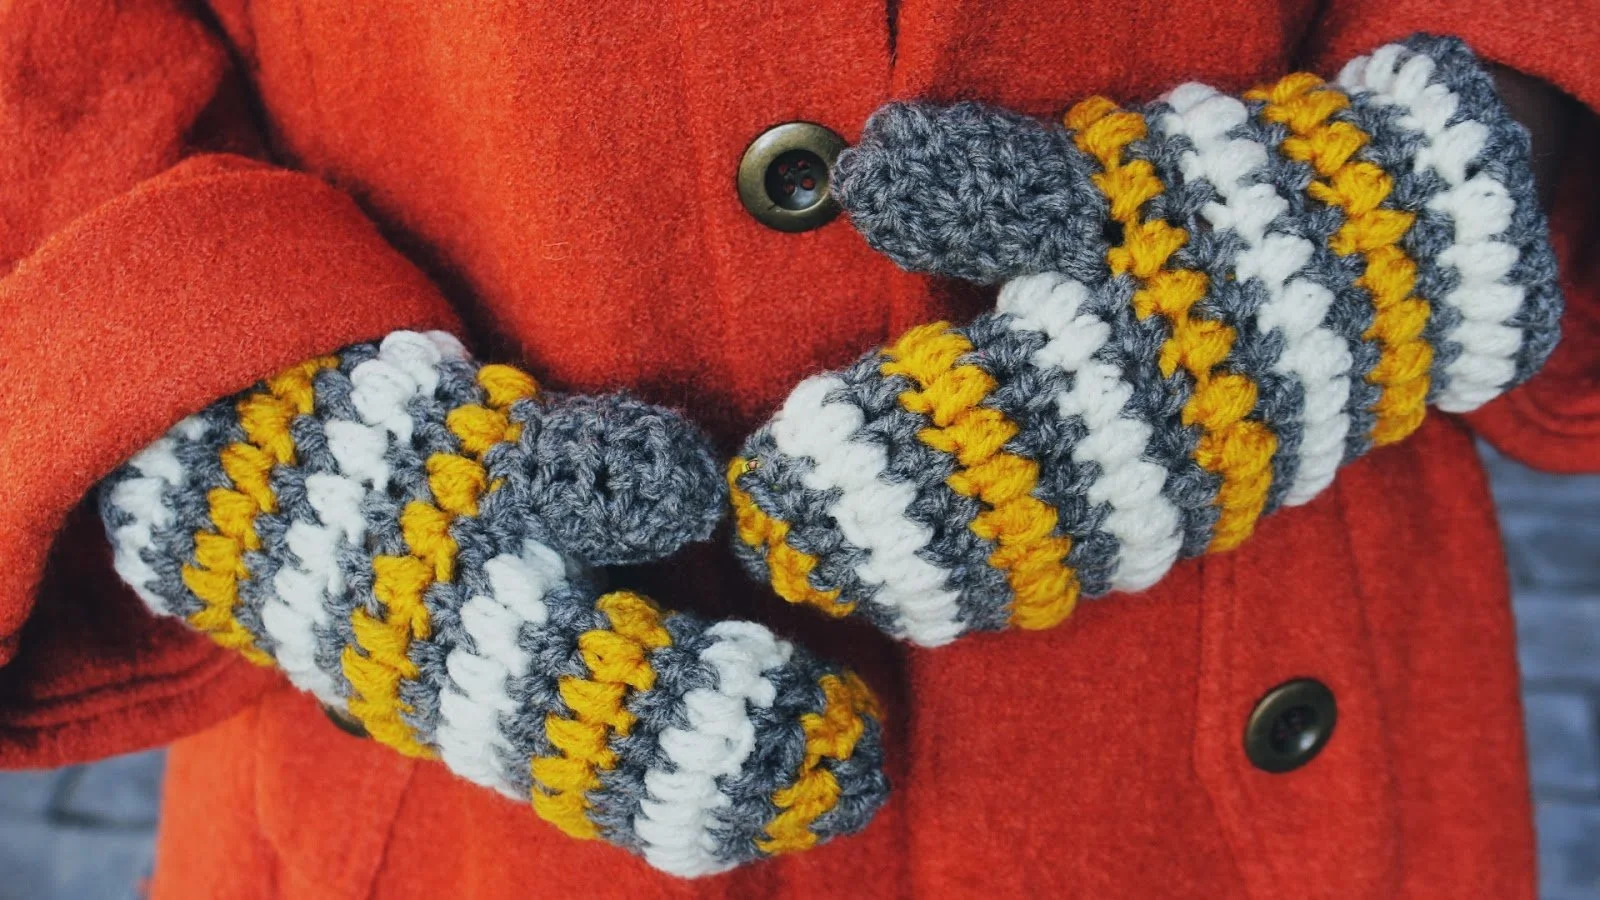
Original Introduction: Here is a free crochet pattern, I have created to make these handmade crochet mittens which are also available for purchase for those who are interested! I have been making mittens like crazy and I wanted to share just how I made them. With the chilly season of Winter approaching, (Winter is Coming! :p) it's such a cute way to keep your hands warm.
There are more designs that I have centered around mittens, but here is one of my favorite designs I have come up with that I thought I would share.
Note: You might want to adjust the measurements depending on your hand size!
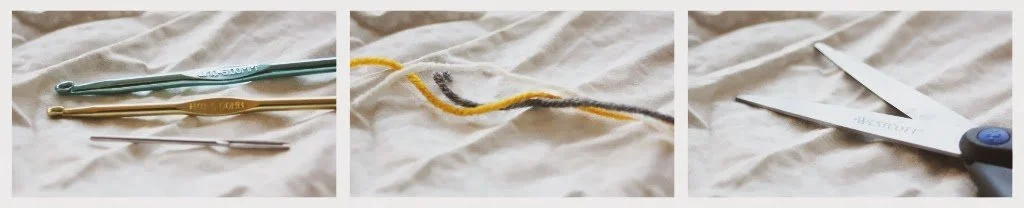
MATERIALS
[Used [3 COLORS Total] Less than HALF of 1* Skein/Ball for ALL SIZES
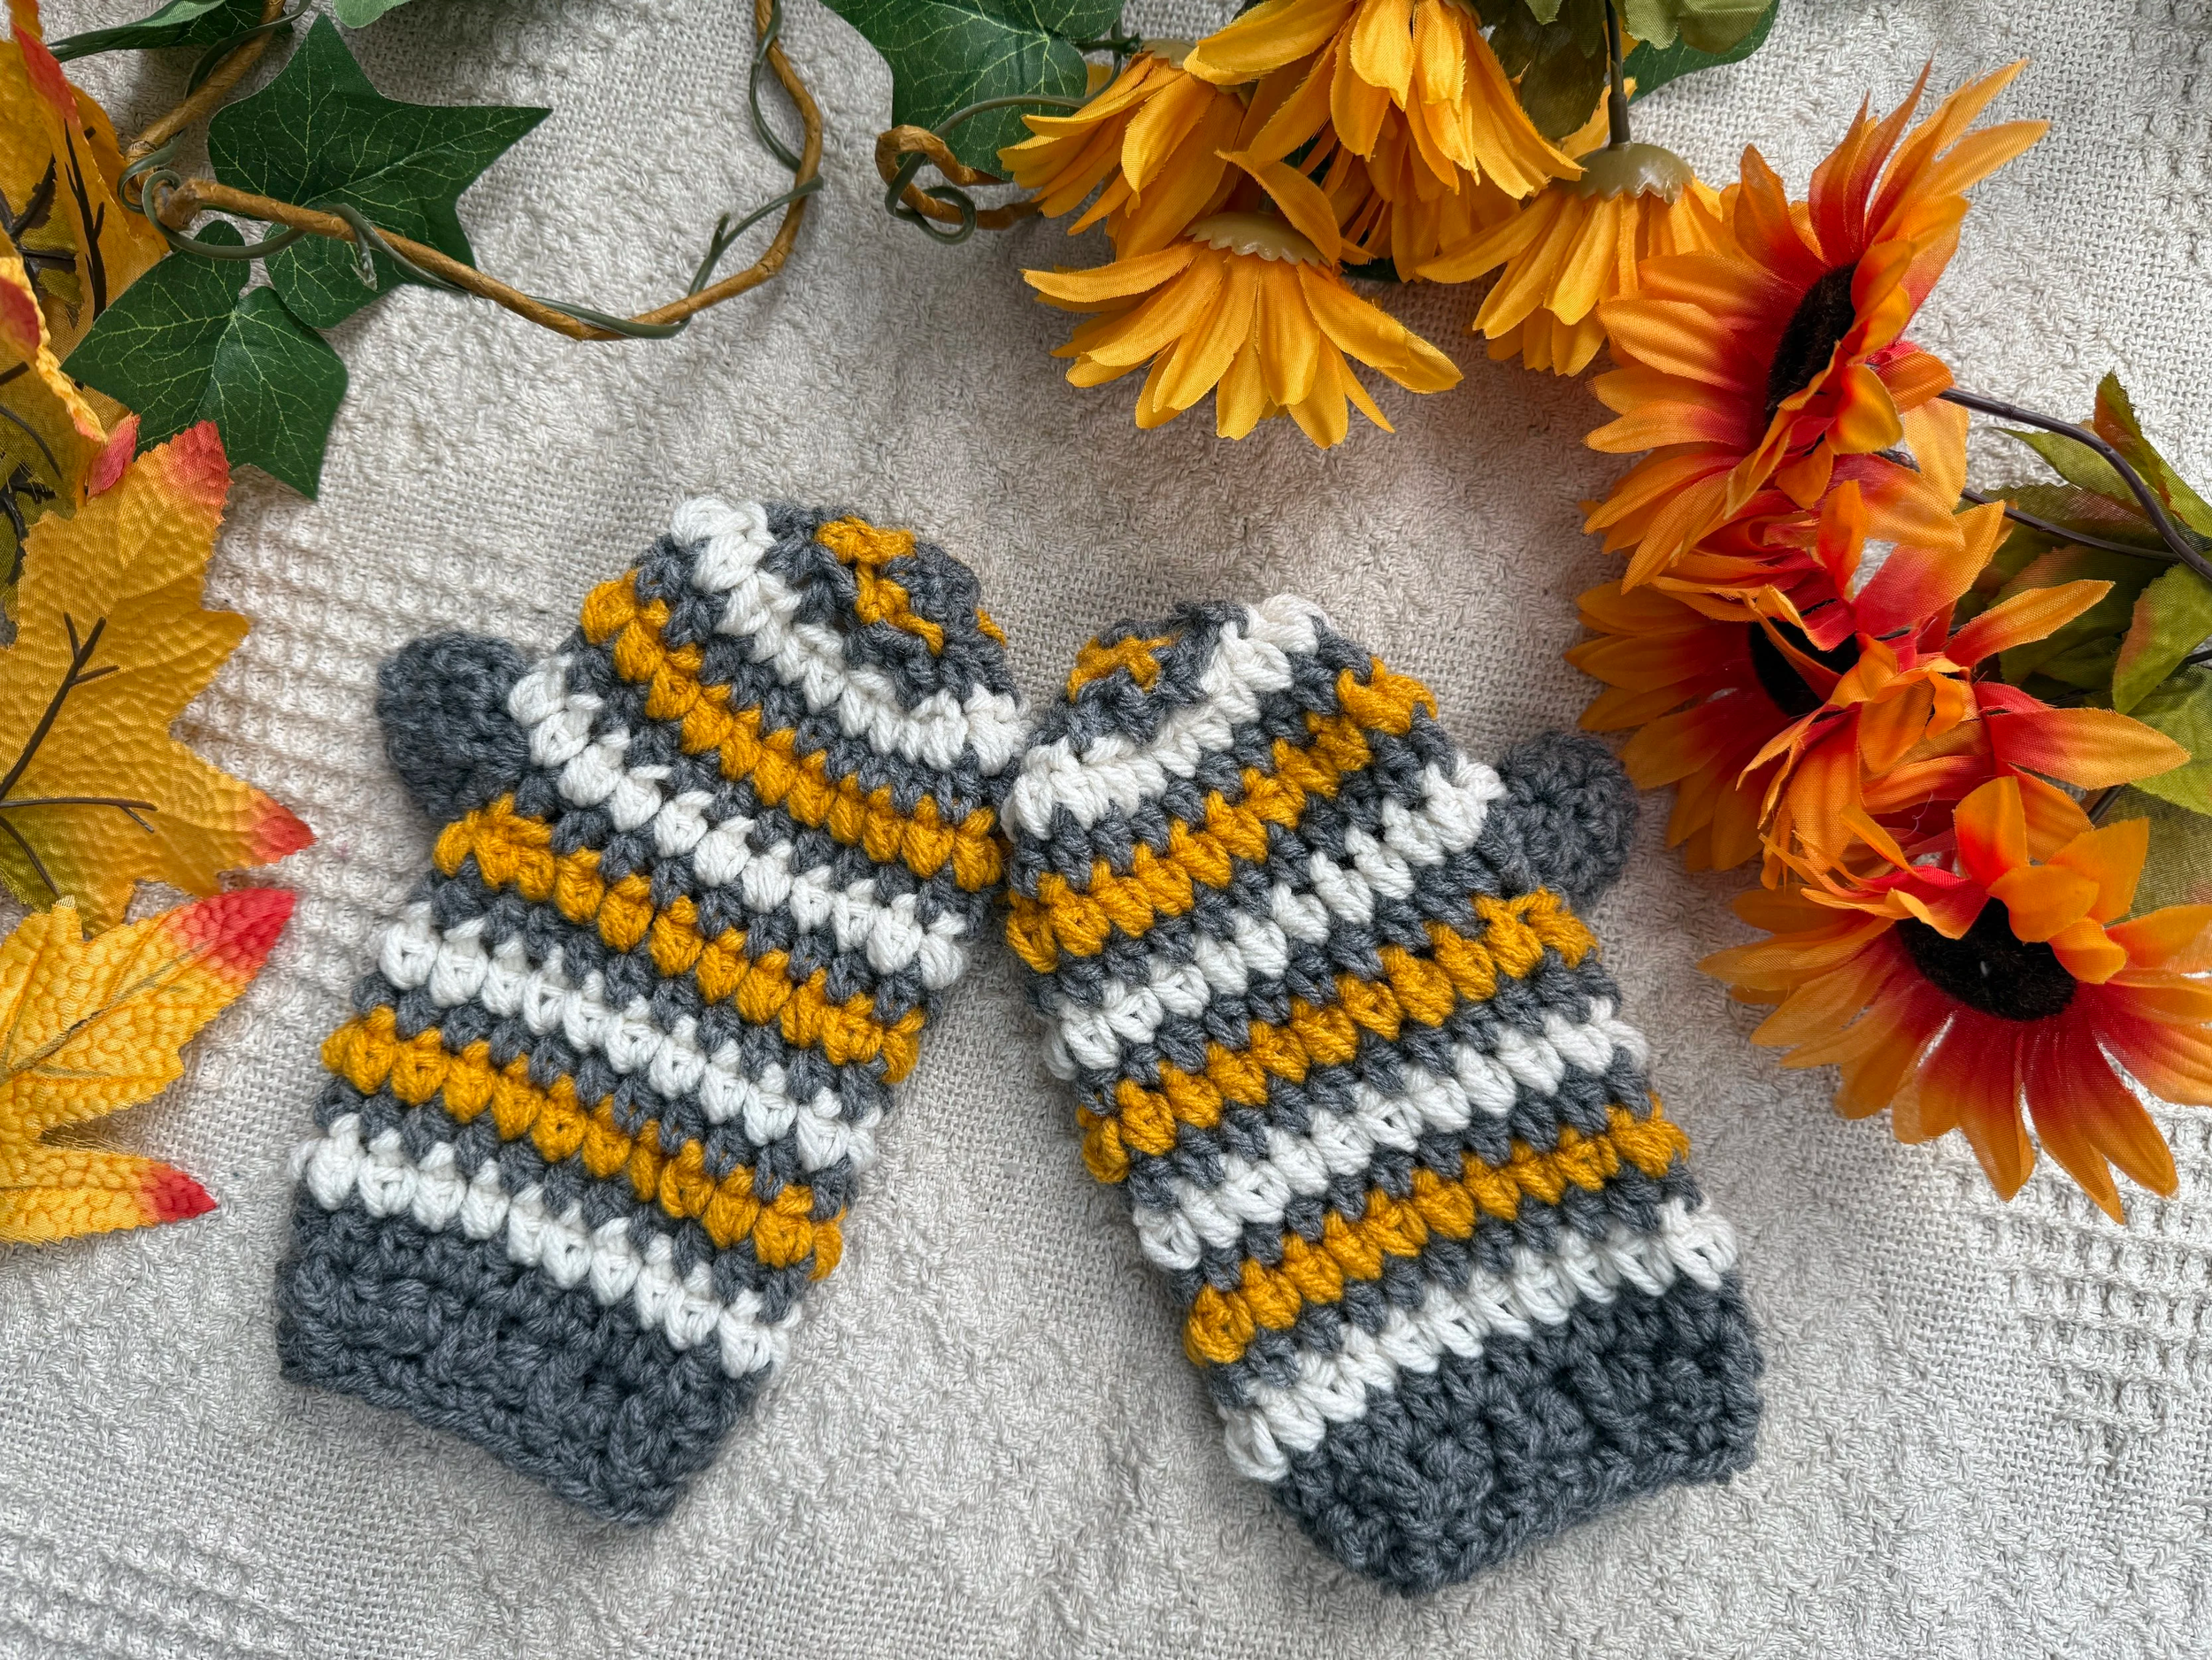
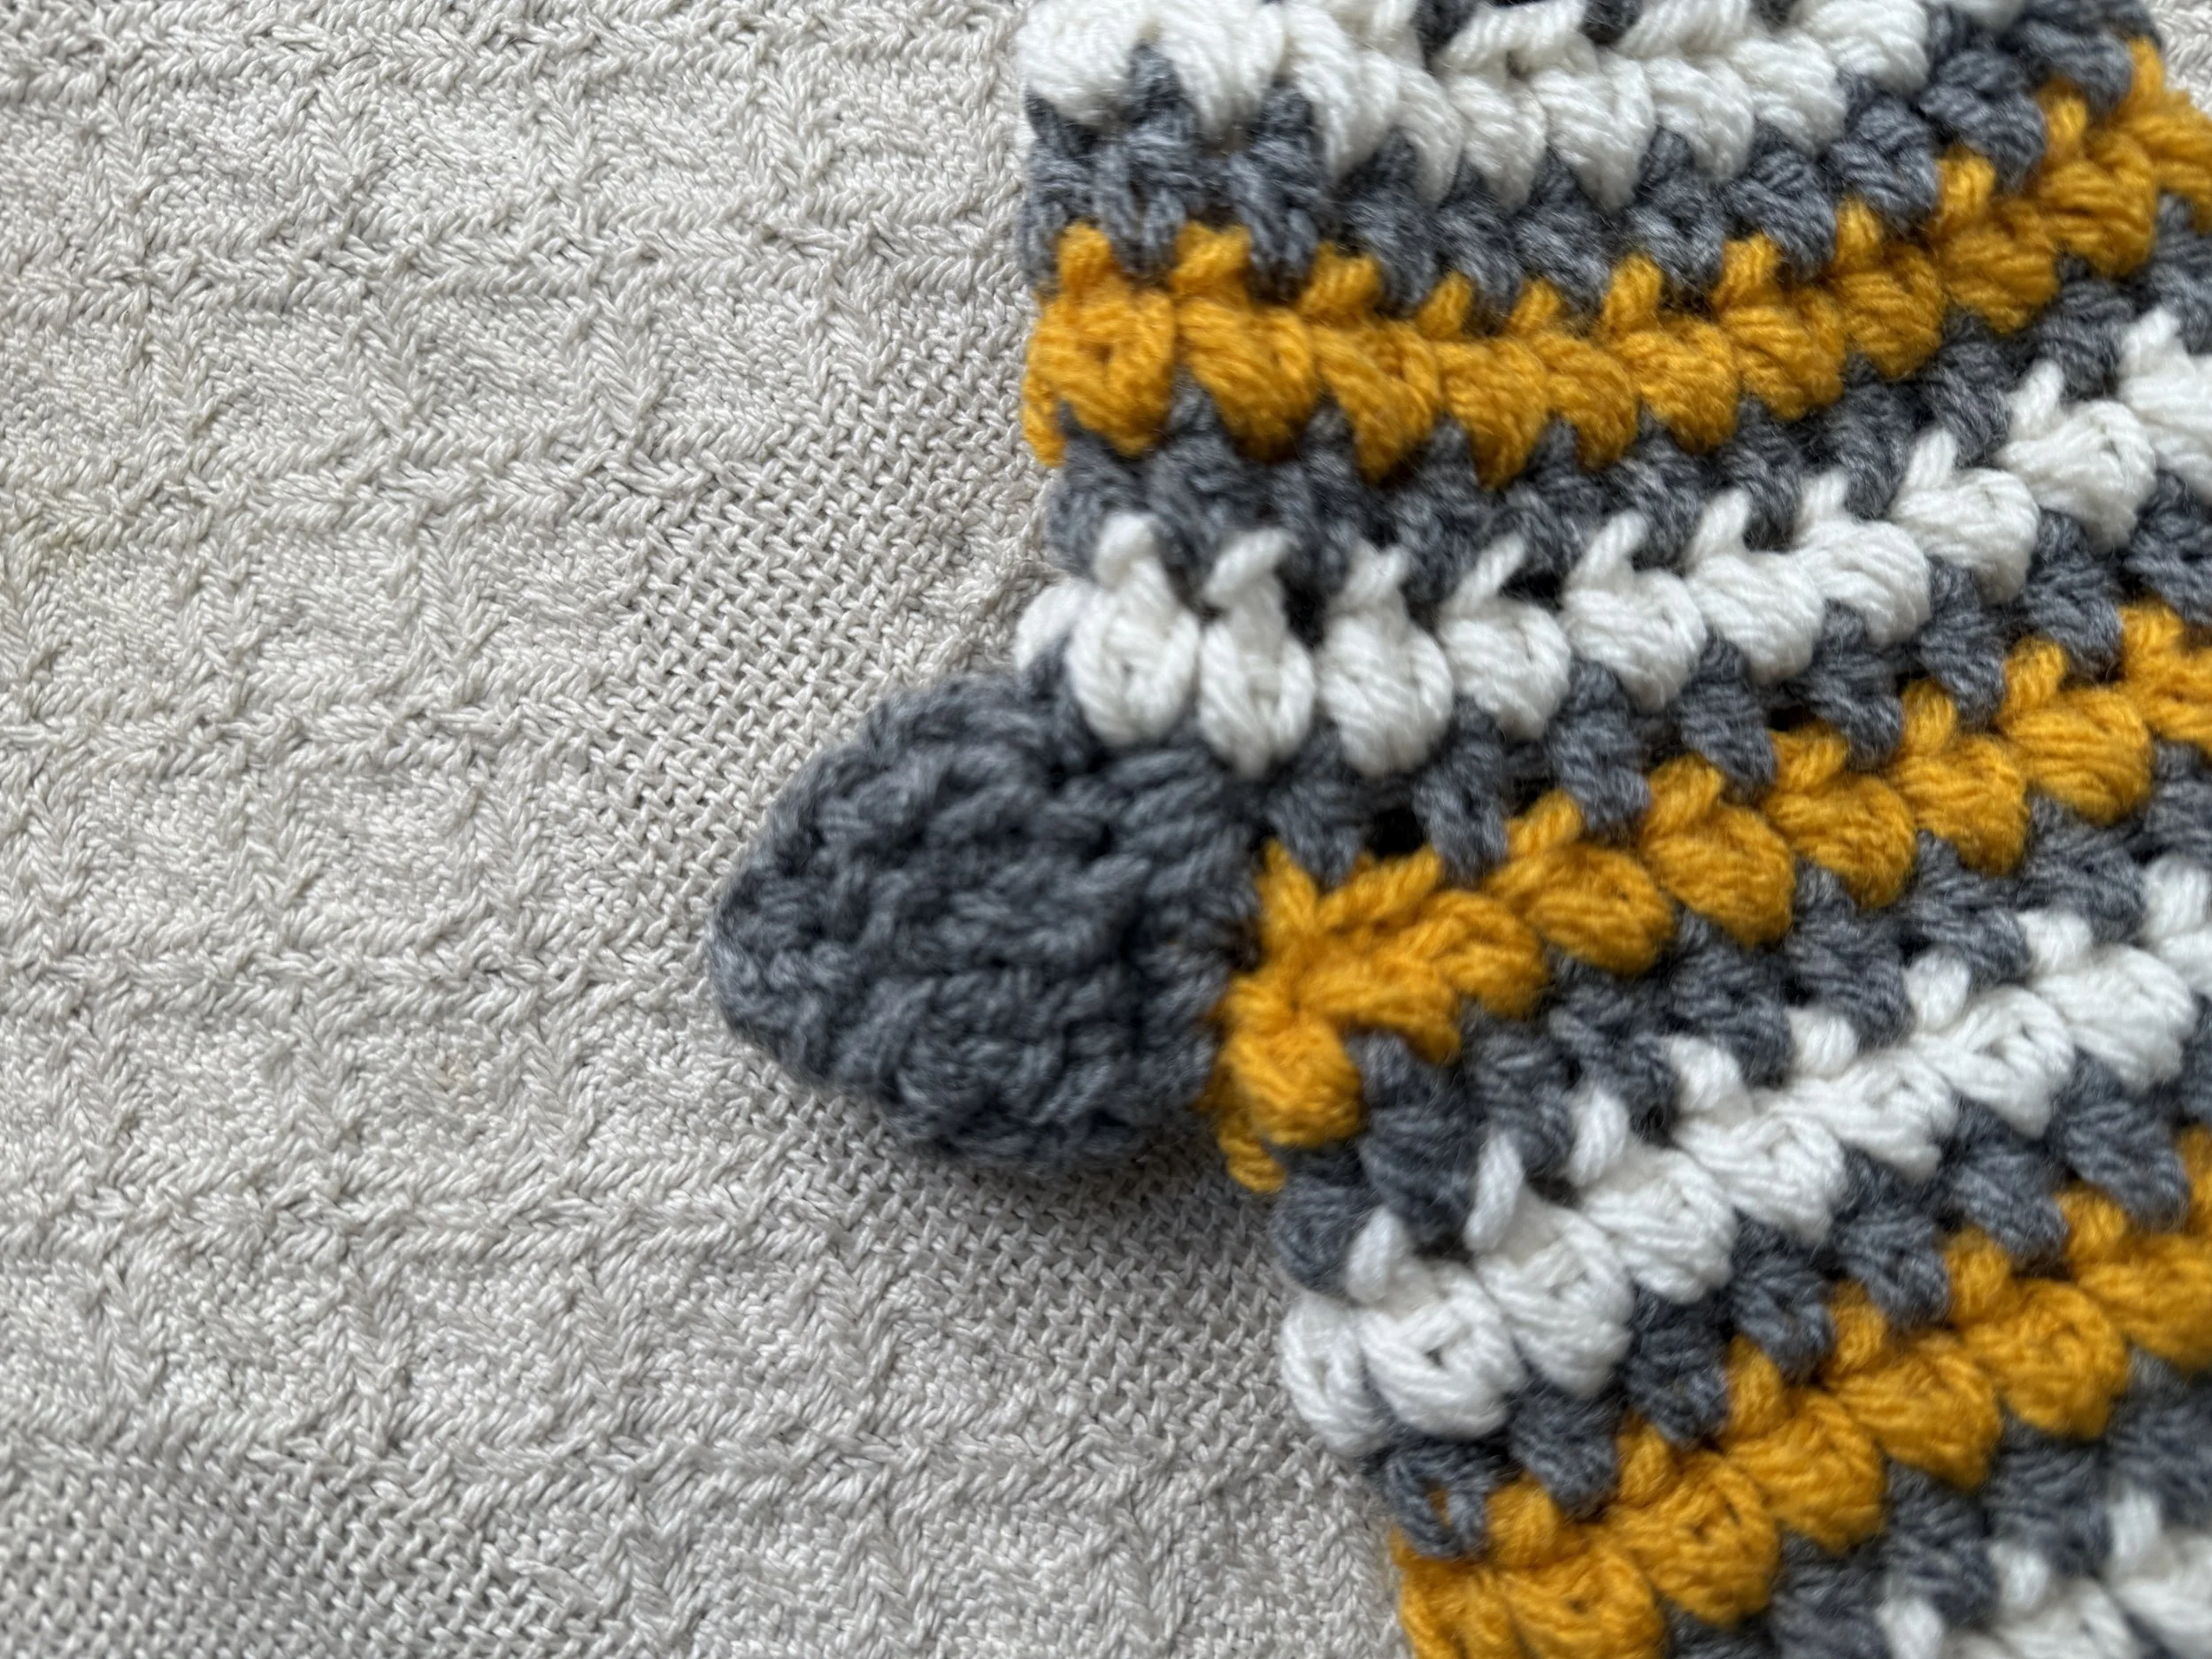
Yarn: Red Heart Super Saver, in “Mustard/Grey/Aran” [Medium 4]
US H/8 5.00mm Crochet Hook
Yarn Needle
Scissors
Measuring Tape
Stitch Markers
Gauge:
10 HDC STS [Going Across ] [Width] X 9 HDC/SC STS[Going Down Rounds] = 4 in.
Details:
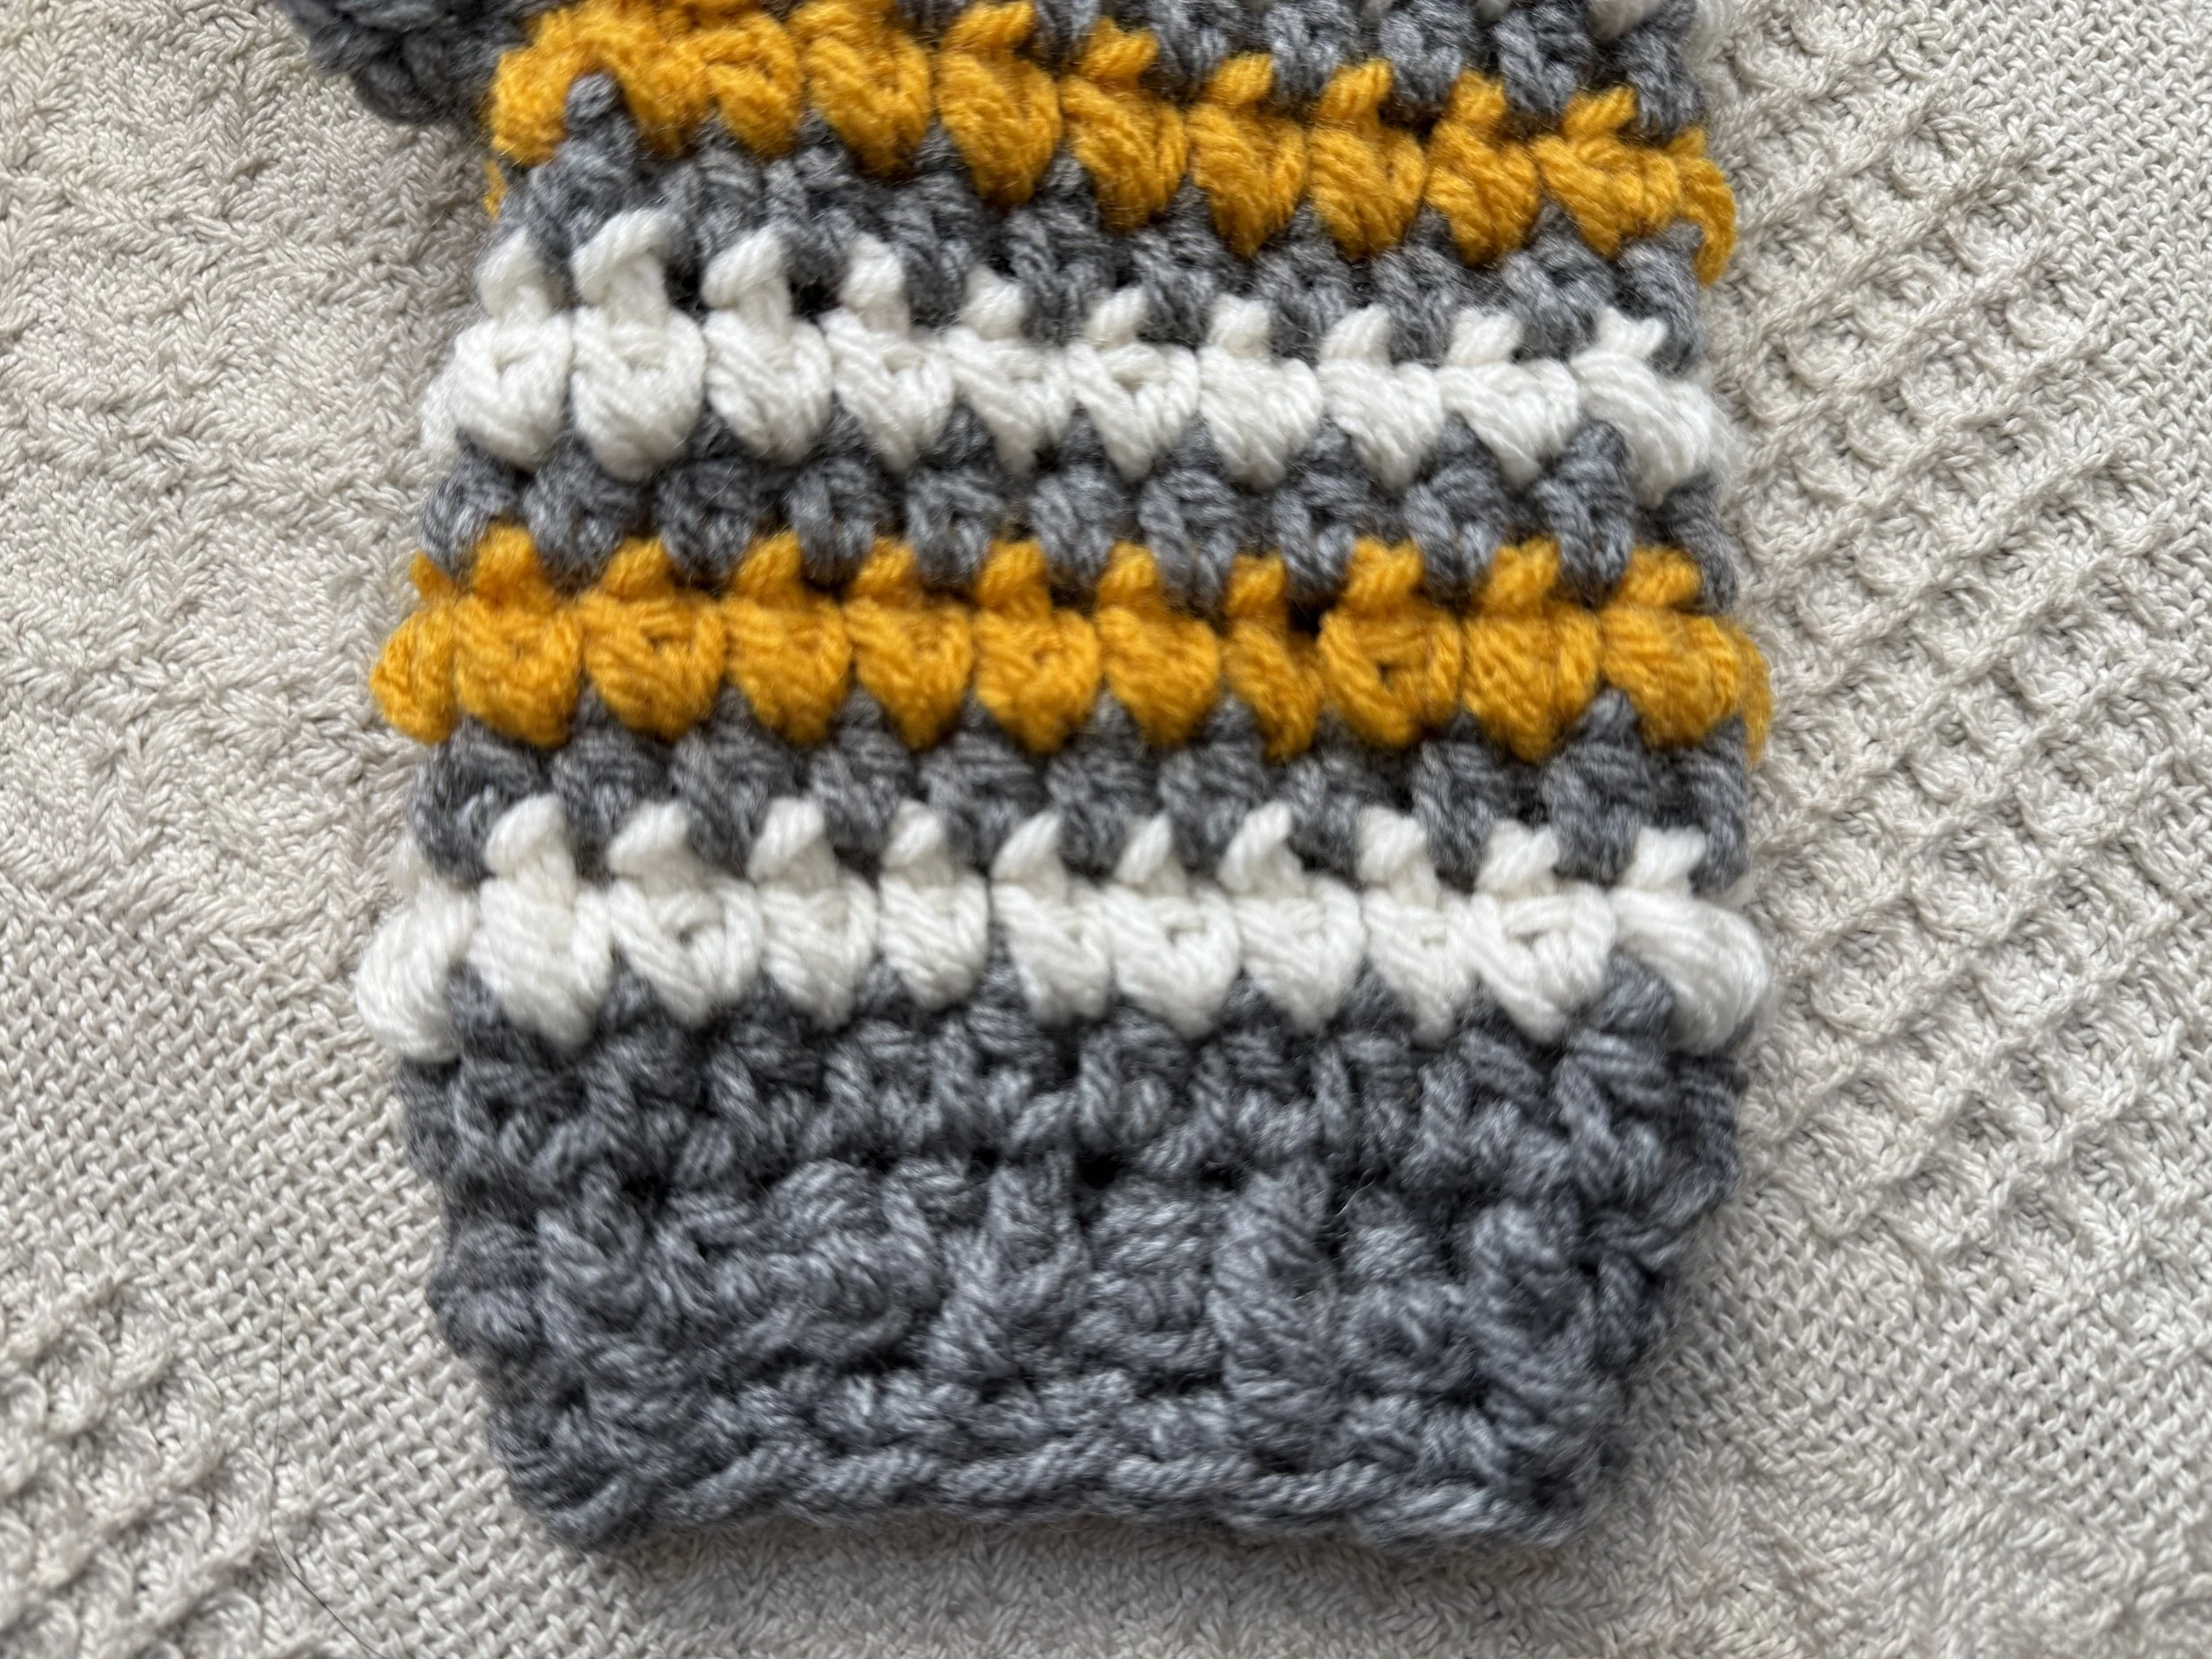
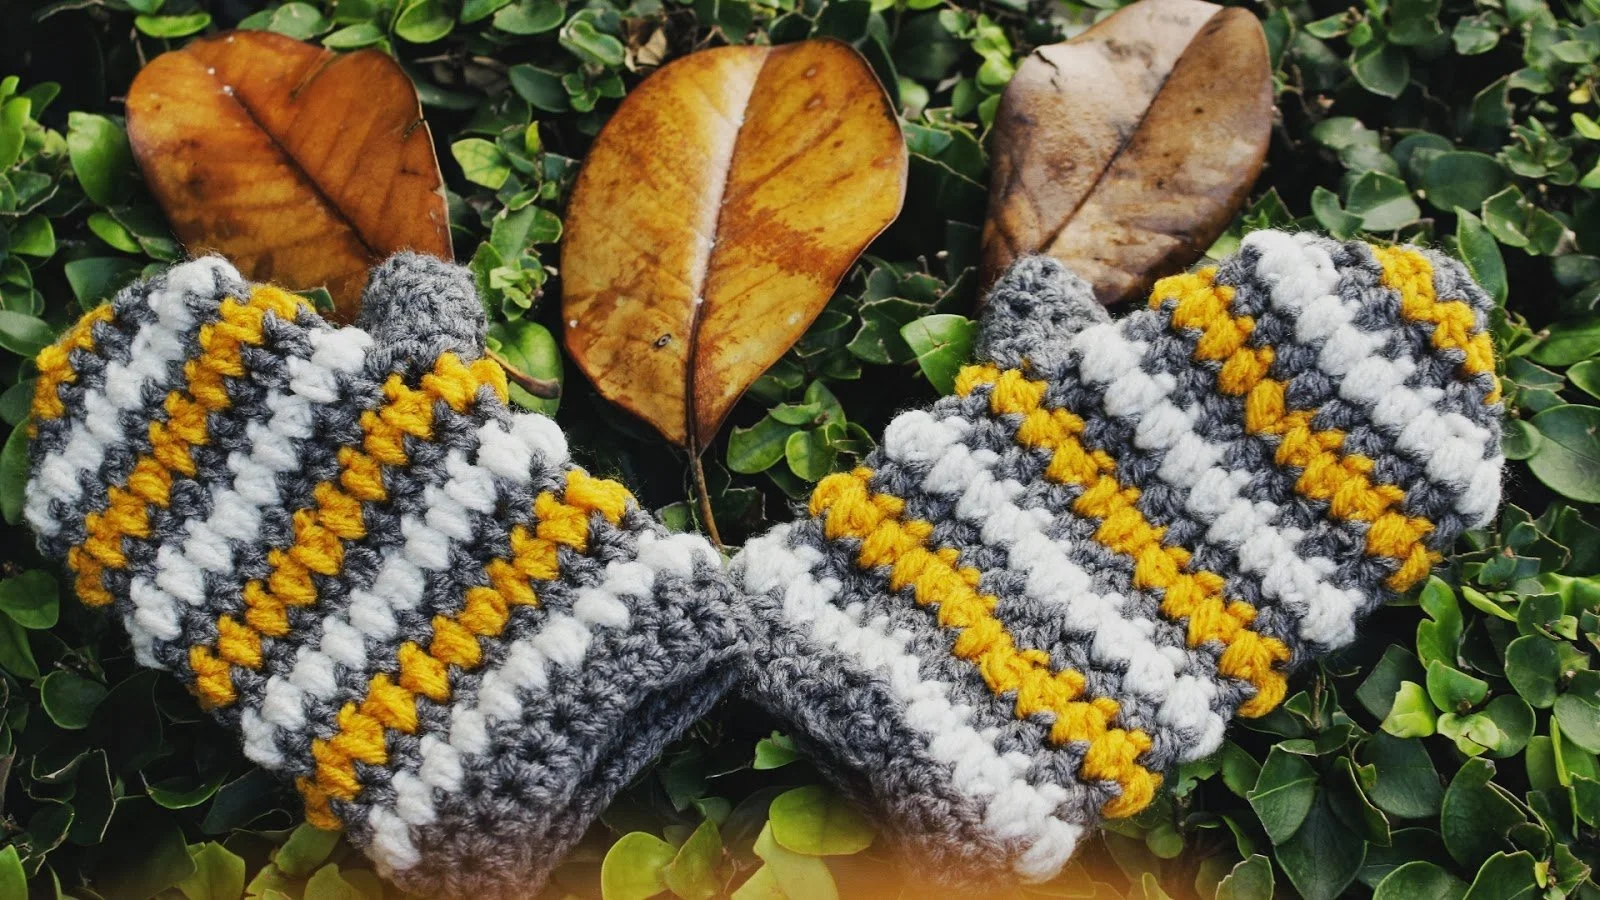
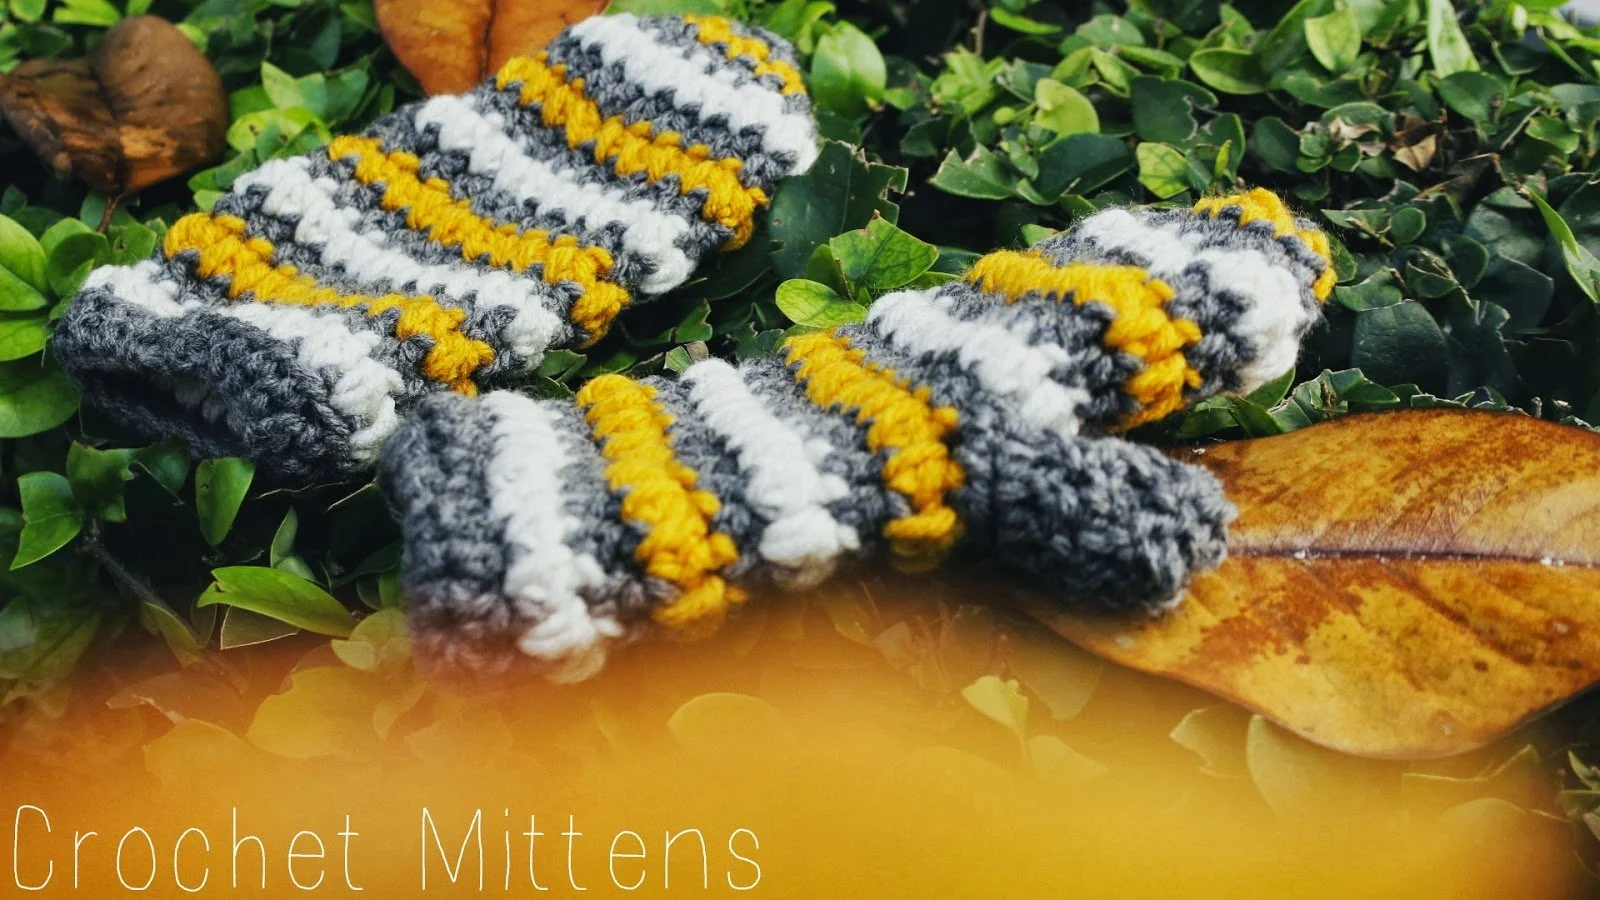
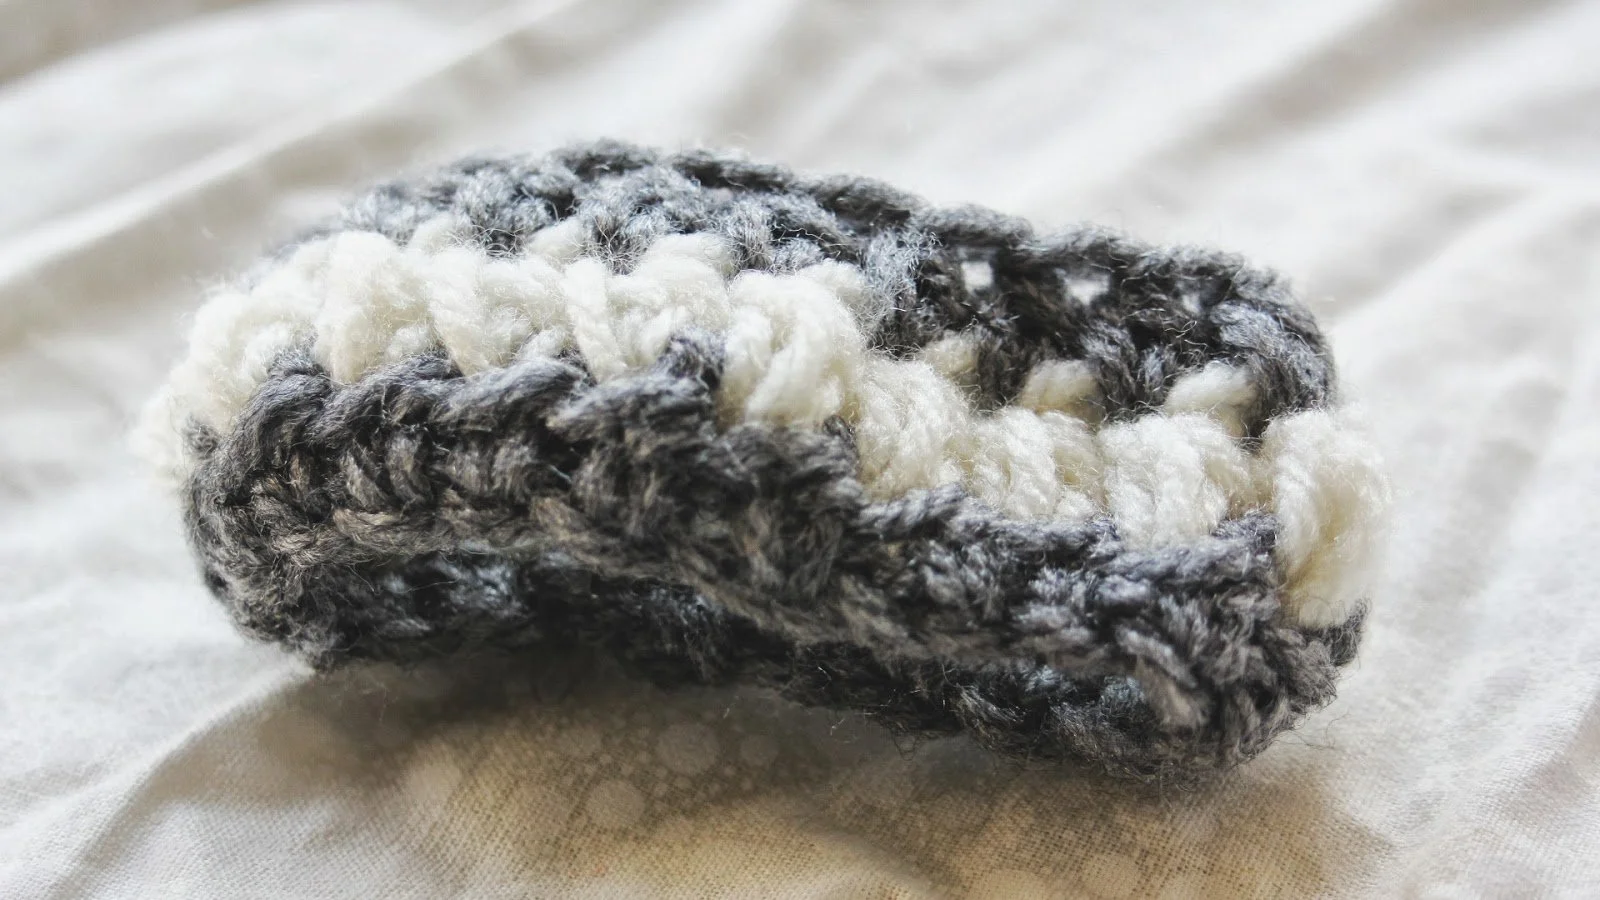
Striped, multi-colored crochet mittens
Abbreviations:
CH [#] Turning Chain initiated
STS= Stitch [es]
SC= Single Crochet
HDC= Half Double Crochet
SL ST= Slip Stitch
HDC2TOG= Half Double Crochet 2 STS Together
SC2TOG= Half Double Crochet 2 STS Together
FPHDC/BPHDC= Working in the front post half double crochet stitch, alternating to back post half double crochet stitch
RPT =Repeat from asterisk, *follow repeating method from this starting point
Note: Will be switching colors throughout Rounds.
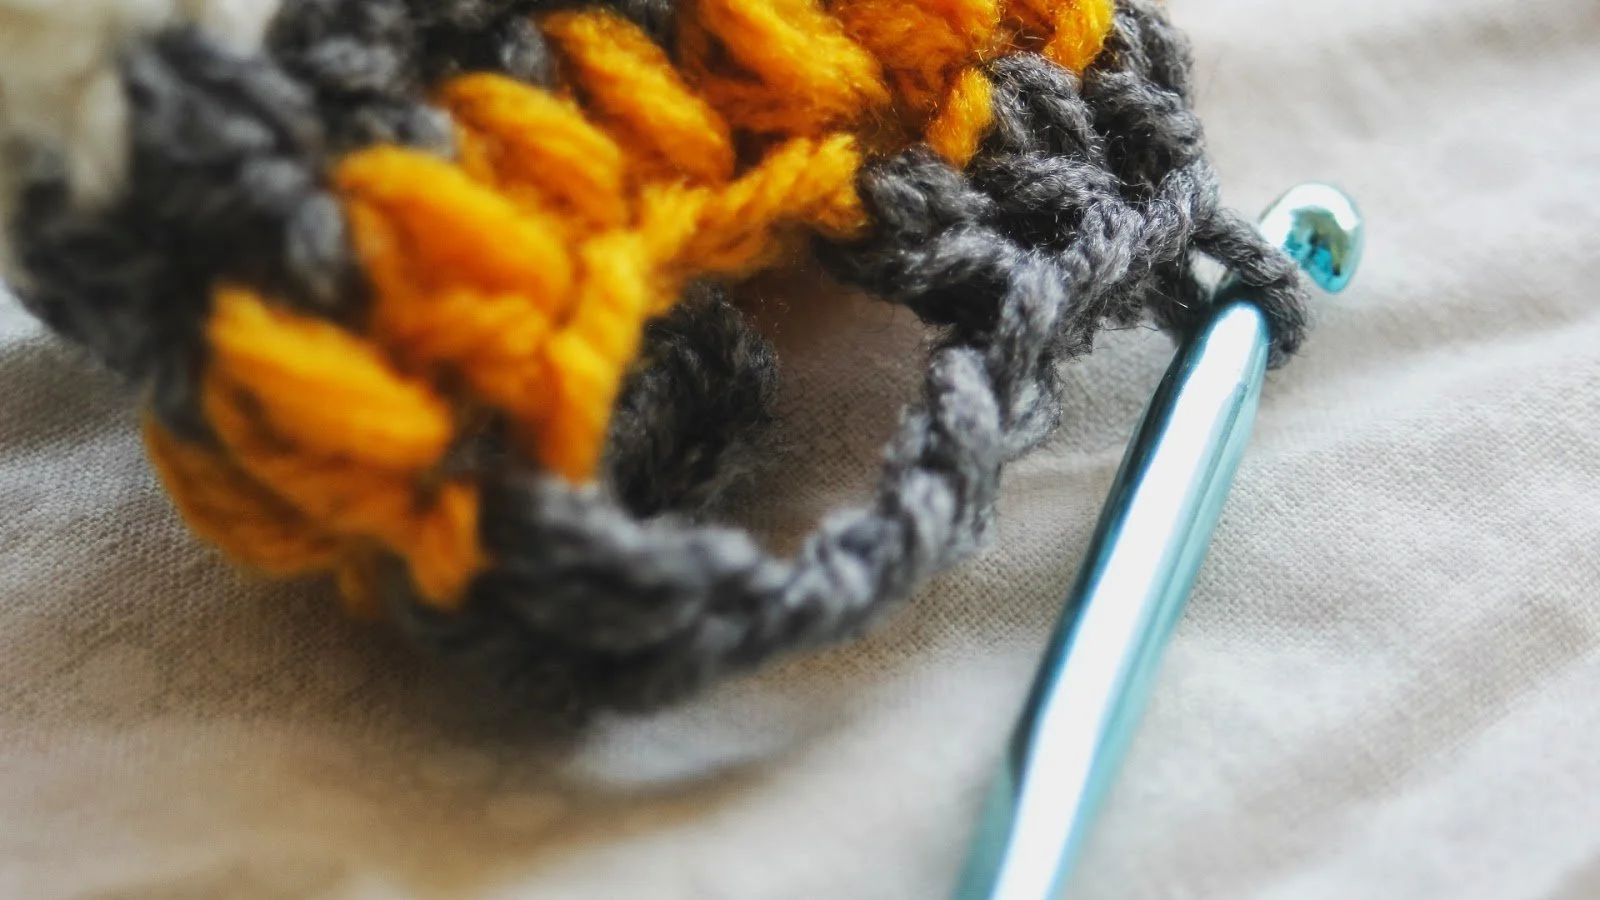
Uses Puff Stitch Technique: Yarn over, insert hook into the stitch, then yarn over to pull up a loop.
Next, yarn over again to insert hook in same stitch, yarn over, pull up a loop) only 2 times to create this puff stitch
STARTING THE PATTERN
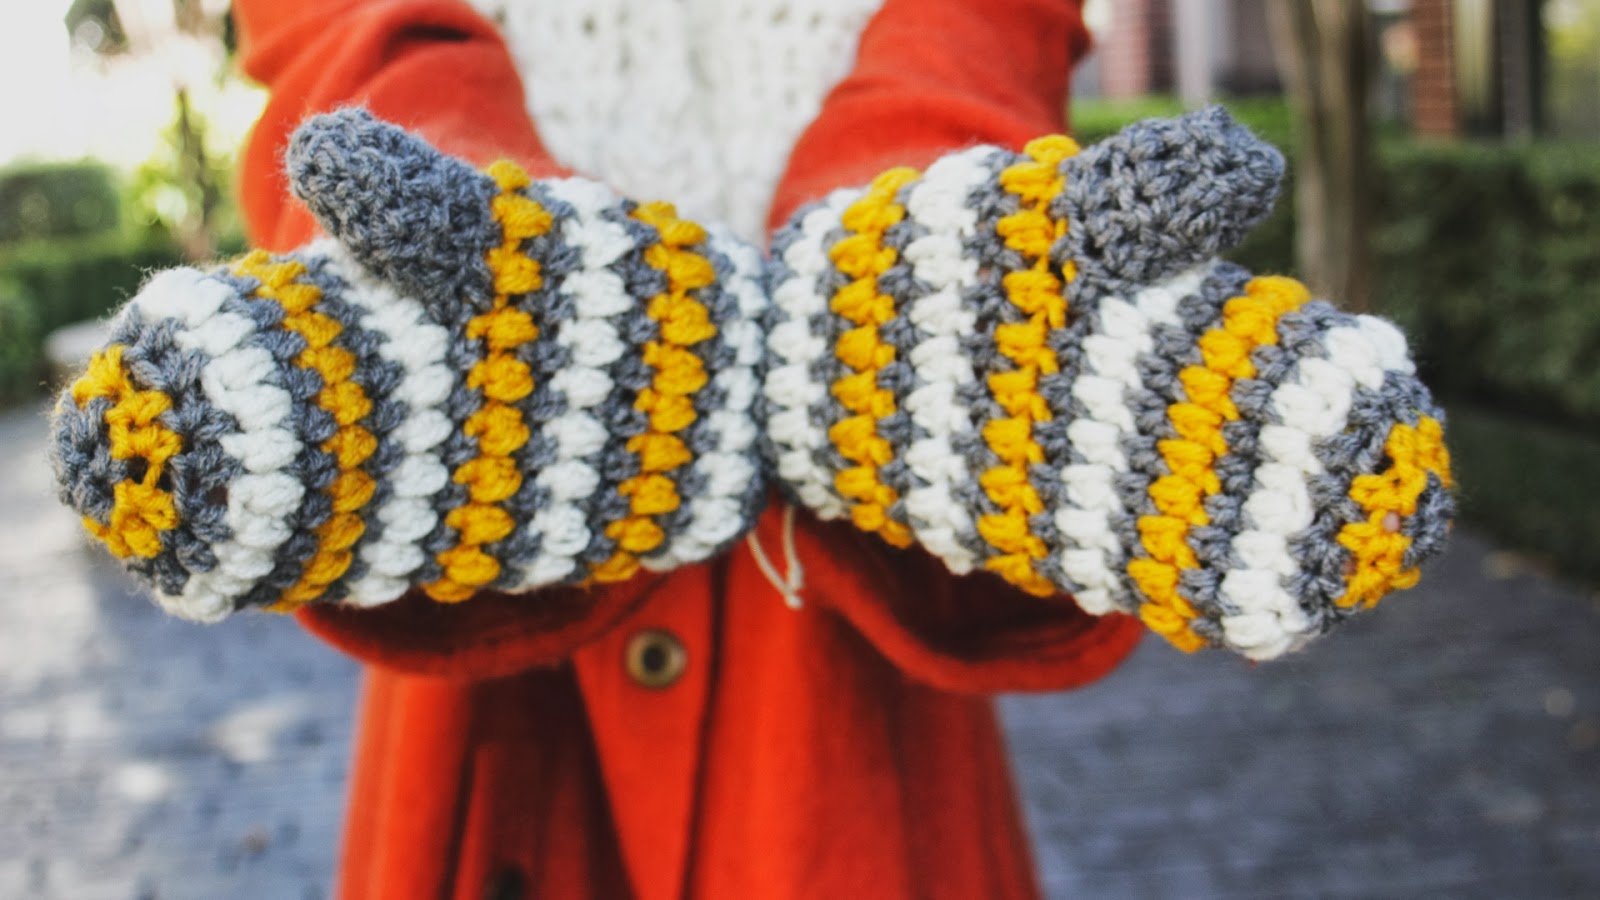
Note: Pattern is constructed from the Wrist/Width, working up towards the hands, creating and forming the thumbhole for the Mittens. May increase or decrease STS, more at desired round for personal desired fit.
CH FOR 22 STS.
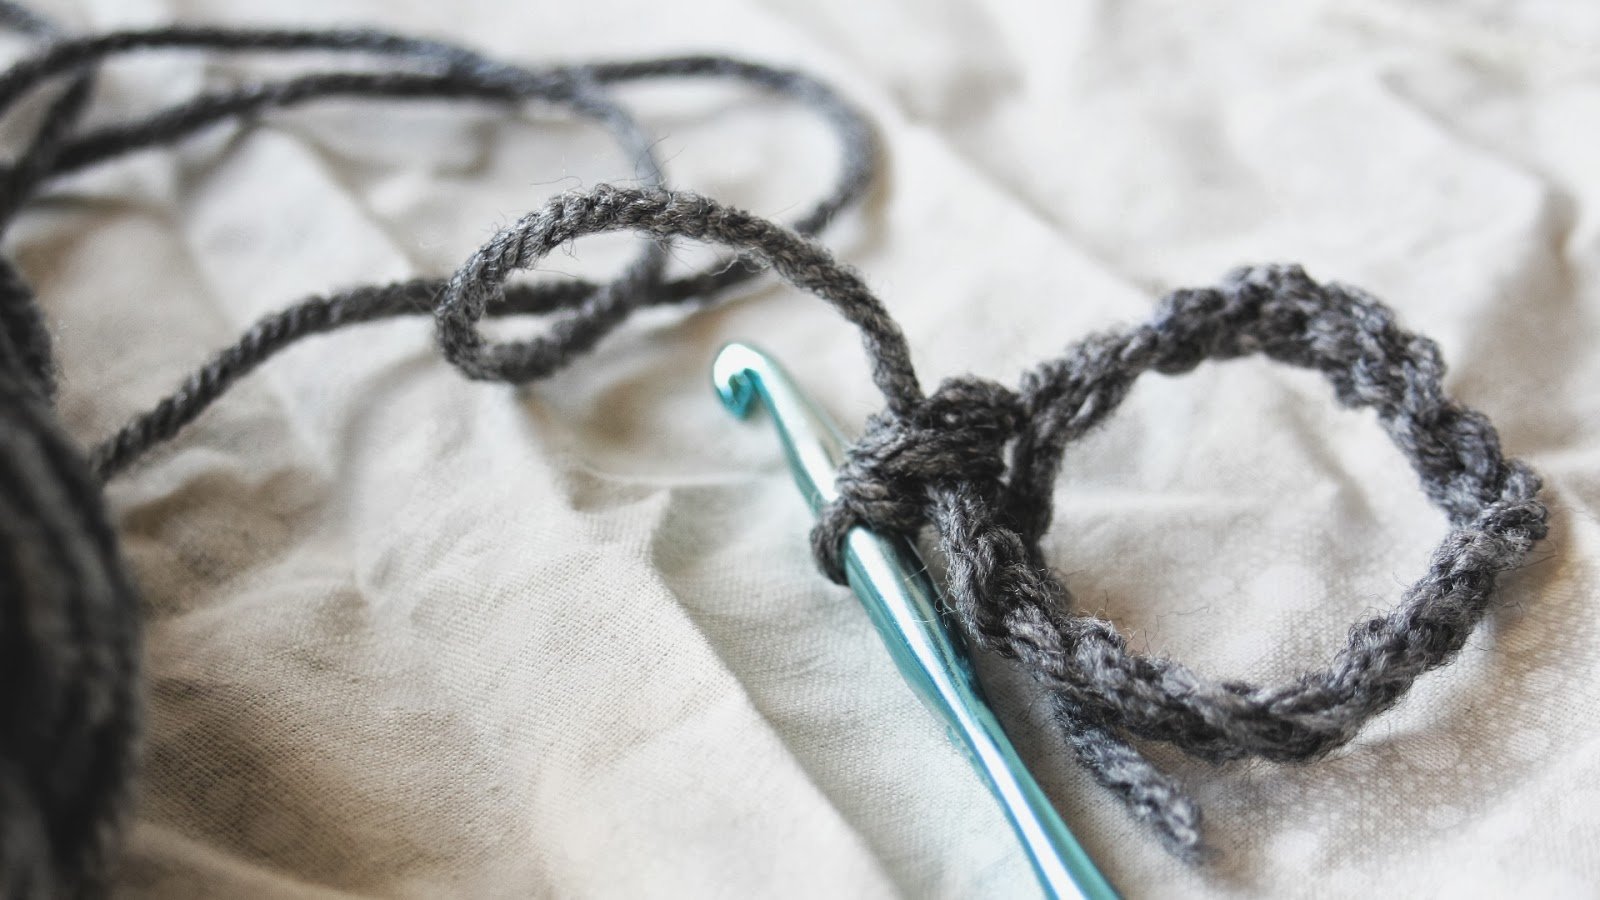
[GREY] RND1: CH1, and Work 1SC STS, into every ST [22 STS] going around, SL ST into the starting chain to continue work.
[GREY] RND2: CH2, and Work 1HDC STS, into every ST [22 STS]going around, SL ST into the starting chain to continue work.
[CREAM/ARAN] RND3: CH2 [Working Puff Stitch into each Stitch around]...going around, SL ST into the starting chain to continue work.
[GREY] RND4: CH2, and Work 1HDC STS, into every ST [22 STS]going around, SL ST into the starting chain to continue work.
[MUSTARD GOLD] RND5: CH2 [Working Puff Stitch into each Stitch around]...going around, SL ST into the starting chain to continue work.
[GREY] RND6: CH2, and Work 1HDC STS, into every ST [22 STS]going around, SL ST into the starting chain to continue work.
[CREAM/ARAN] RND7: CH2 [Working Puff Stitch into each Stitch around]...going around, SL ST into the starting chain to continue work.
[GREY] RND8: CH2, and Work 1HDC STS, into every ST [22 STS]going around, SL ST into the starting chain to continue work.

[MUSTARD GOLD] RND9: CH2 [Working Puff Stitch into each Stitch around]...going around, SL ST into the starting chain to continue work.
CREATING THUMB HOLE FOR ROUND 10 [NOTE: I SWITCHED SIDES PERTAINING TO RIGHT/LEFT HAND POSITION]
LEFT HAND
[GREY] RND10: CH2, and Work 1HDC STS, into next 4 STS, CH 5, Skip 5 STS and work 1HDC into the remaining 13 STS, going around, SL ST into the starting chain to continue work.
RIGHT HAND
[GREY] RND10: CH2, and Work 1HDC STS, into next 13 STS, CH 5, Skip 5 STS and work 1HDC into the remaining 4 STS, going around, SL ST into the starting chain to continue work.
[CREAM/ARAN] RND11: CH2 [Working Puff Stitch into each Stitch around]...going around, SL ST into the starting chain to continue work.
[GREY] RND12: CH2, and Work 1HDC STS, into every ST [22 STS]going around, SL ST into the starting chain to continue work.
[MUSTARD GOLD] RND13: CH2 [Working Puff Stitch into each Stitch around]...going around, SL ST into the starting chain to continue work.
[GREY] RND14: CH2, and Work 1HDC STS, into every ST [22 STS]going around, SL ST into the starting chain to continue work.
[CREAM/ARAN] RND15: CH2 [Working Puff Stitch into each Stitch around]...going around, SL ST into the starting chain to continue work.
[GREY] RND16: CH2, and Work 1HDC2TOG into the each ST, going around to decrease, SL ST into the starting chain to continue work.
[MUSTARD/GOLD] RND17: CH1, and Work 1SC2TOG into the each ST, going around to decrease, SL ST into the starting chain to continue work.
[GREY] RND18: CH1, and Work 1SC2TOG into the each ST, going around to decrease, SL ST to close and fasten work.
CREATING THE THUMBHOLE
Rejoin hook into the open stitch [created from Round 10] to work in Rounds, to close the thumbhole. Using Grey Yarn.
[GREY] RND1: CH2, and Work 1HDC STS, into every ST [12 STS] going around the open hole, then SL ST into the starting chain to continue work.
[GREY] RND12 CH2, and Work 1HDC2TOG into the each ST, going around to decrease, SL ST into the starting chain to continue work.
[GREY] RND18: CH1, and Work 1SC2TOG into the each ST, going around to decrease, SL ST to close and fasten work.
CREATING THE CABLED LOOK/ FINISHING TECHNIQUE
*Note: I added this to the old design for a bit more detail! Then rejoin your hook into the side ST, of ROUND 1 to work. Using Grey Yarn.
[GREY] RND1: CH2, and Work 1FPHDC STS, into the next ST, then work BPHDC into the following ST…[**Alternate between methods for every other ST for the entire round, at the end of the round, SL ST into the starting chain to continue work.
[GREY] RND2: CH1, and Work 1SC STS, into every ST [22 STS] going around the open hole, then SL ST into the starting chain to complete final work, fasten off to complete work.